Configuring SAML SSO
A guide on how to setup SAML SSO with Consent Kit.
You must have SAML SSO enabled on your organisation in order to set SAML SSO up. Get in touch with us to turn this on.
Provider specific guides
- Okta setup guide
- Google SAML setup guide
- Entra ID (formerly Azure Active Directory) SAML setup guide
General SAML SSO setup guide
To enable SAML SSO, you will need to provide Consent Kit with the following information:
- Your SSO IDP Entity ID
- Your SSO target url that performs authentication
- Your auth certificate
Consent Kit’s authentication URLs:
- Our entity ID:
https://app.consentkit.com/users/saml/metadata - Our assertion consumer service (ACS) URL:
https://app.consentkit.com/users/saml/auth
Enabling SAML SSO within Consent Kit
Only organisation admins have access to the SAML SSO settings page.
Option 1 - Enabling within Consent Kit yourself
Once you have the above information, you can enable SAML SSO within Consent Kit by going to Manage team in the top right menu and clicking on the settings tab.
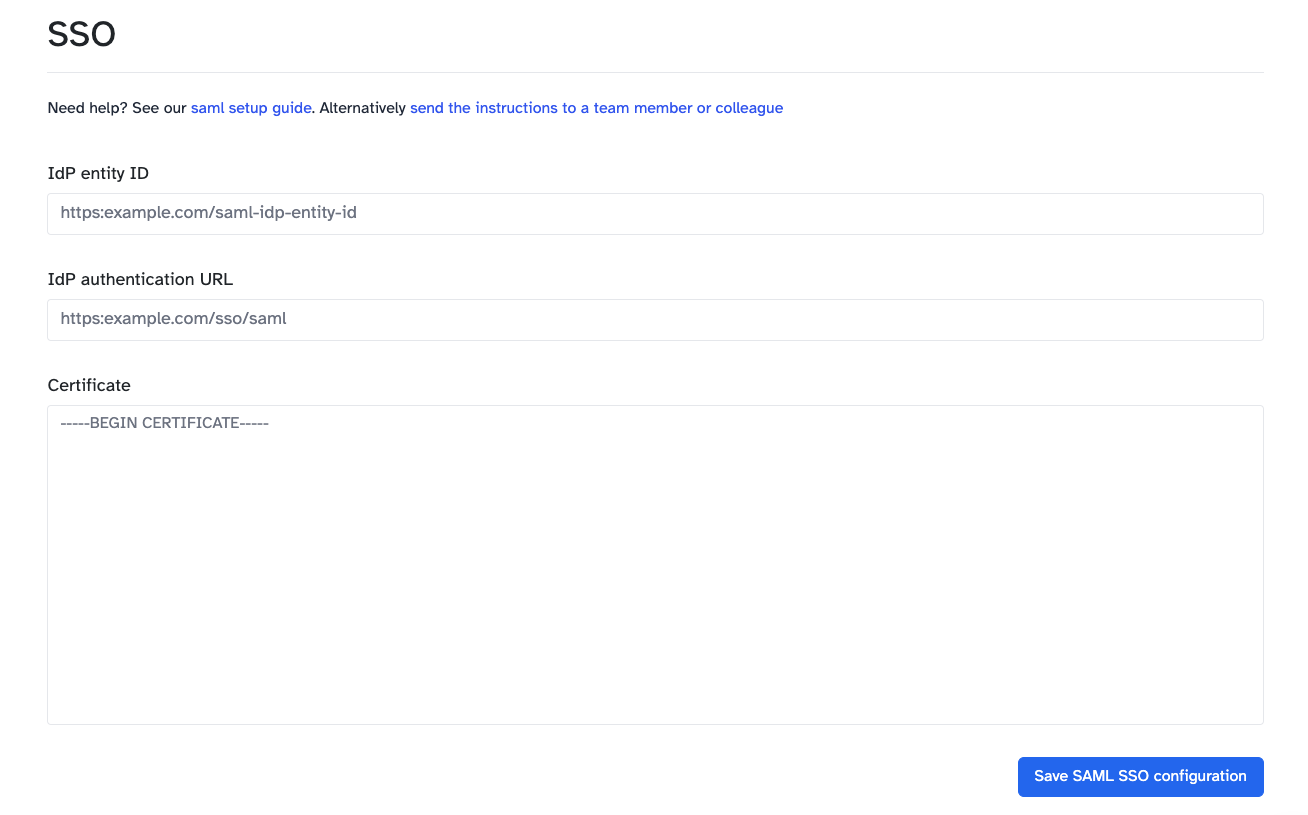
Once you have clicked on the settings tab, you will be able to see the SAML SSO settings. You will need to enter the following information:
- IdP Entity ID: This is your SSO providers Issuer URL (Entity ID)
- Target URL: This is your SSO providers SAML endpoint (authentication URL) that performs the authentication
- Certificate: The downloaded certificate from your SSO provider
Option 2 - Sending the instructions to your IT team
Go to Manage team in the top right menu and clicking on the settings tab then click on send the instructions to a team member or colleague.
This will give you a customisable email template that you can send to your IT team and will contain the information that they need to enable SAML SSO for you.